


 The wax ring underneath your toilet is what forms a protective barrier between the bottom of the toilet and the flange. If this seal becomes damaged or worn, you may start to notice either moisture around the base of your toilet or a strong sewer type smell. If this problem is left untended, it can cause serious damage to your subfloor.
Fortunately, while it sounds tough, figuring out how to replace a wax ring on a toilet is actually a great beginner project. To do this job right, you’ll only need a bit of knowledge and a few simple tools. We will show you how to replace your toilet’s wax ring in three easy steps.
Step One: Getting Ready
Before you remove the toilet, you’ll want to start by shutting off the water supply to the toilet. Once the water is off, flush the toilet to remove as much water as possible. You can then use a sponge or old towels to remove any remaining water from both the tank and the bowl. Not only will this make the toilet lighter and easier to handle, but it also prevents messy spills. It is also not a bad idea to have a large trash bag available to place the toilet in once it is removed to also help eliminate any unwanted water runoff.
Step Two: Dis-assembly
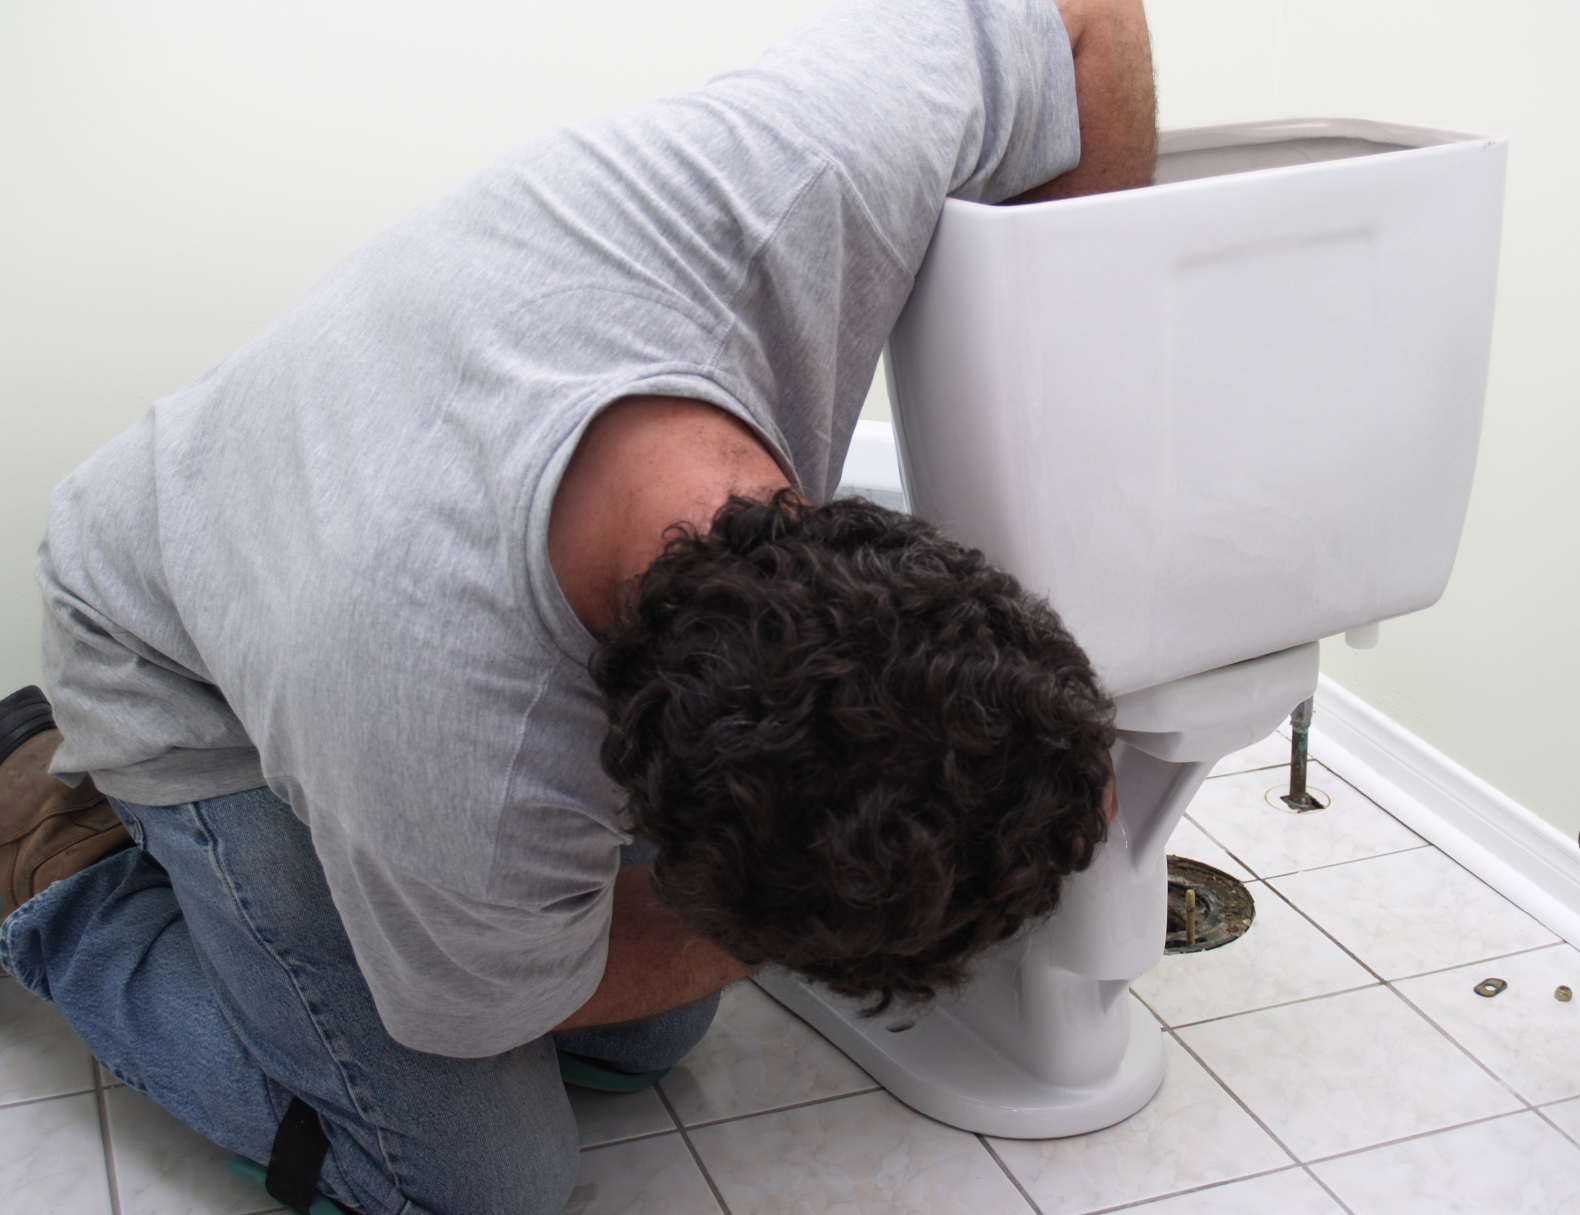
Once you’ve drained the toilet, you can start the dis-assembly process by disconnecting the water supply line that is connected to the bottom of the tank. After that, remove the caps over the bolts at the base of the toilet and undo the nuts on those bolts. If the bolts are rusted or the nuts seized, you may need to use penetrating oil and pliers to remove them. You can also try a small hacksaw to cut through the bolts underneath the nuts.
With the bolts out, you’ll be able to lift the base of the toilet up and away from the flange. Always lift the toilet by the bowl – never the tank. If you lift by the tank, the weight of the bowl can cause the tank to crack where it is fastened to the bowl which could lead to the need for a full on toilet replacement and the help of a professional plumber.
Now that the flange is exposed, use a scraper or an old putty knife to remove all remnants of the old wax ring from both the flange and the base of the toilet.
Step Three: Reassembly
When you’re ready to put everything back together, start by placing the new wax ring on the flange with the rounded side facing up. Replace the flange bolts, making sure that they’re properly fitted into the flange’s keyhole openings.
When everything is in place, lift the toilet – again, by the bowl – and lower it onto the wax ring and bolts. You may need a helper to make sure the openings in the base of the toilet line up with the bolts. Try the best you can to be sure the toilet goes down onto the ring evenly to avoid any unbalanced distribution of the wax ring.
Once the toilet is in place, sit on it or press downward on the bowl to make sure the new wax ring seals well between the flange and the base of the toilet. Ensure that the toilet is level, and then tighten the nuts on the flange bolts. To prevent over-tightening and potentially cracking the toilet’s base, stop turning the nuts once you start to meet resistance.
Reconnect the supply line to the tank, and turn the water supply back on to let the tank fill. When full, flush the toilet a few times and check for leaks. Pay special attention to not only the base of the toilet, but also the supply line connection and the seal between the bowl and the tank.
And that’s it! Barring any leaks, your wax ring replacement project is complete. As you can see, wax ring replacement can be both easy and inexpensive. Best of all, it should only take you an hour or two from start to finish. Stay tuned to the A-1 American blog for more great how-to tips and money-saving ideas.


